
Punch needle is a wonderful craft and can be used to make all sorts of textile pieces from large tapestries and rugs to soft furnishings. There are many different sizes of needles and these correspond to both the type of yarn used and the size of loop created.
It is relaxing, and once you’ve got the hang of it the possibilities for design are endless!
If you are new to punch needle I’ve put together some information and instructions which should give you the confidence to take the plunge and start creating something beautiful.
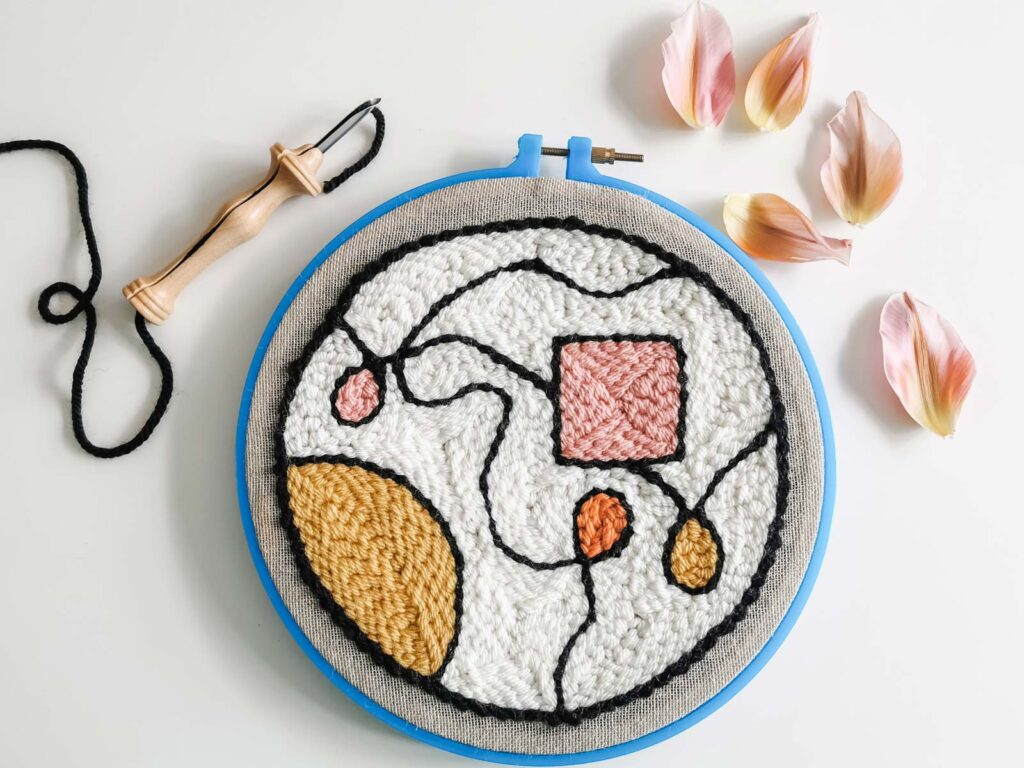
What you will need
For most of my punch needlework, I use a standard 10 punch needle. This has a 5mm eye and works best with chunky or Aran weight (worsted weight) yarn. There are various makes from the adjustable Lavor needle to the Oxford Punch Needle.
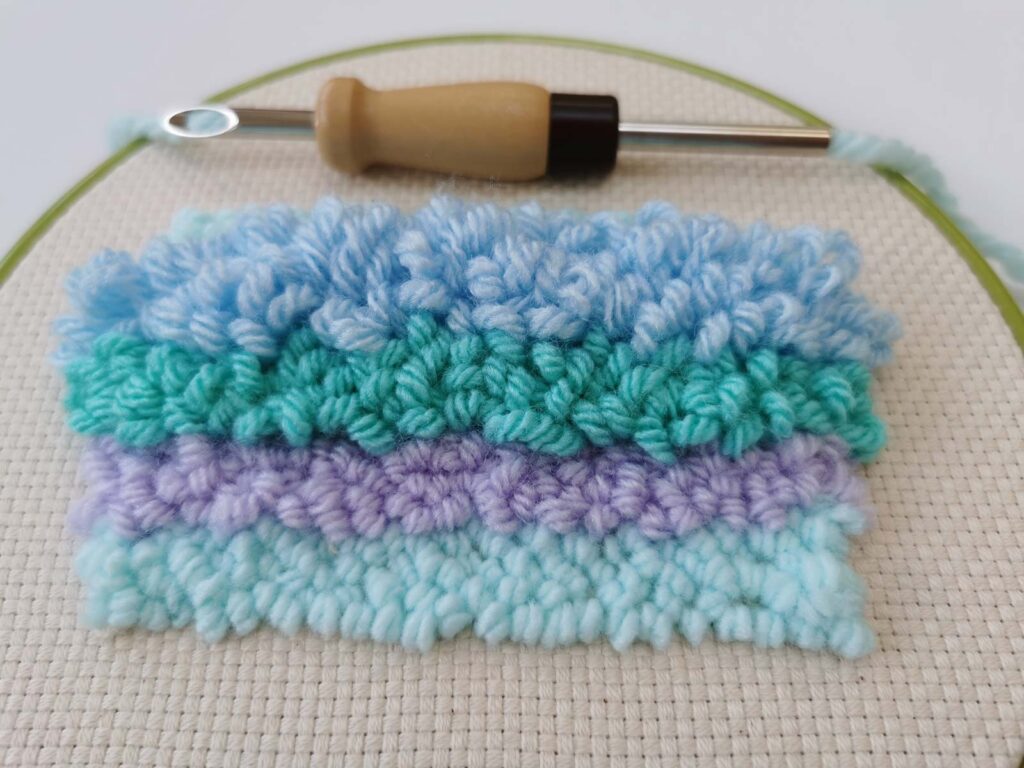
Hoop or frame
For small pieces of work, I use a bamboo hoop (available in any craft store and in many sizes). I then secure my monk’s cloth to the hoop using a glue gun before I start punching. This way I can display the finished piece when complete.
If making a cushion, bag, or any other larger item that will be sewn afterward, I use a non-slip plastic hoop or frame. Another great option is to use an artist’s canvas frame. You can tear the artist’s canvas away and staple your monk’s cloth across the frame nice and tight. These can be used as a display frame when you have finished or re-used as many times as you want!
Punch Needle Fabric
The most widely used fabric for punch needle work is called Monk’s Cloth, ideally with an 11-14 thread count. I also like to use natural linen stretched as tightly as possible across the hoop or frame. You will need to work out which needle and thread size to use with the fabric as this will depend on the tightness or looseness of the weave. For a tighter, finer weave use a finer thread and narrower needle size, and a thicker punch needle with chunkier yarn for a looser or coarser weave.
To attach to your frame, you should cut at least 2 inches of spare fabric all around the edge of your design in order to be able to pull it tightly across the frame before attaching it (I use a staple gun or upholstery tacks). Monks cloth frays very easily so you may want to overlock the edges or fold over and sew.
Yarn for punch needle
You can use almost any type of yarn to punch but it must be the right size for your needle. For a standard 10 needle, I use ‘chunky’ weight yarn. It can be acrylic, wool, cotton, or any mixture you like. As a rule, the yarn should be about the same thickness as the needle itself and pull through the needle when threaded easily. If it does not flow through the stitches will not stay in.
Other Materials
Scissors, Permanent marker, Pencil, thick yarn needle (I use this for tidying up some little areas occasionally)
Starting your project
It is possible to source all sorts of punch needle patterns online and in stores and it is worth looking for one designed especially for the tool initially as they will be easy to create with a standard tool and thicker yarn.
Once you have found a suitable pattern and printed it (if it was a download) you will need to cut it out and pin it to your hoop or frame. Remember that the side you will be working on will be the ‘flat’ side of the stitches. If you want this to be your finished side, trace it to the front of the fabric. However, if you want the looped/ carpet side of the piece to be the front you will need to trace the pattern to the back of the frame as the loops will be pushed through to the front.
I use the window as a lightbox to trace the pattern as both monk’s cloth and natural linen are very opaque. I usually use a permanent marker pen with a fine tip.
Threading the needle
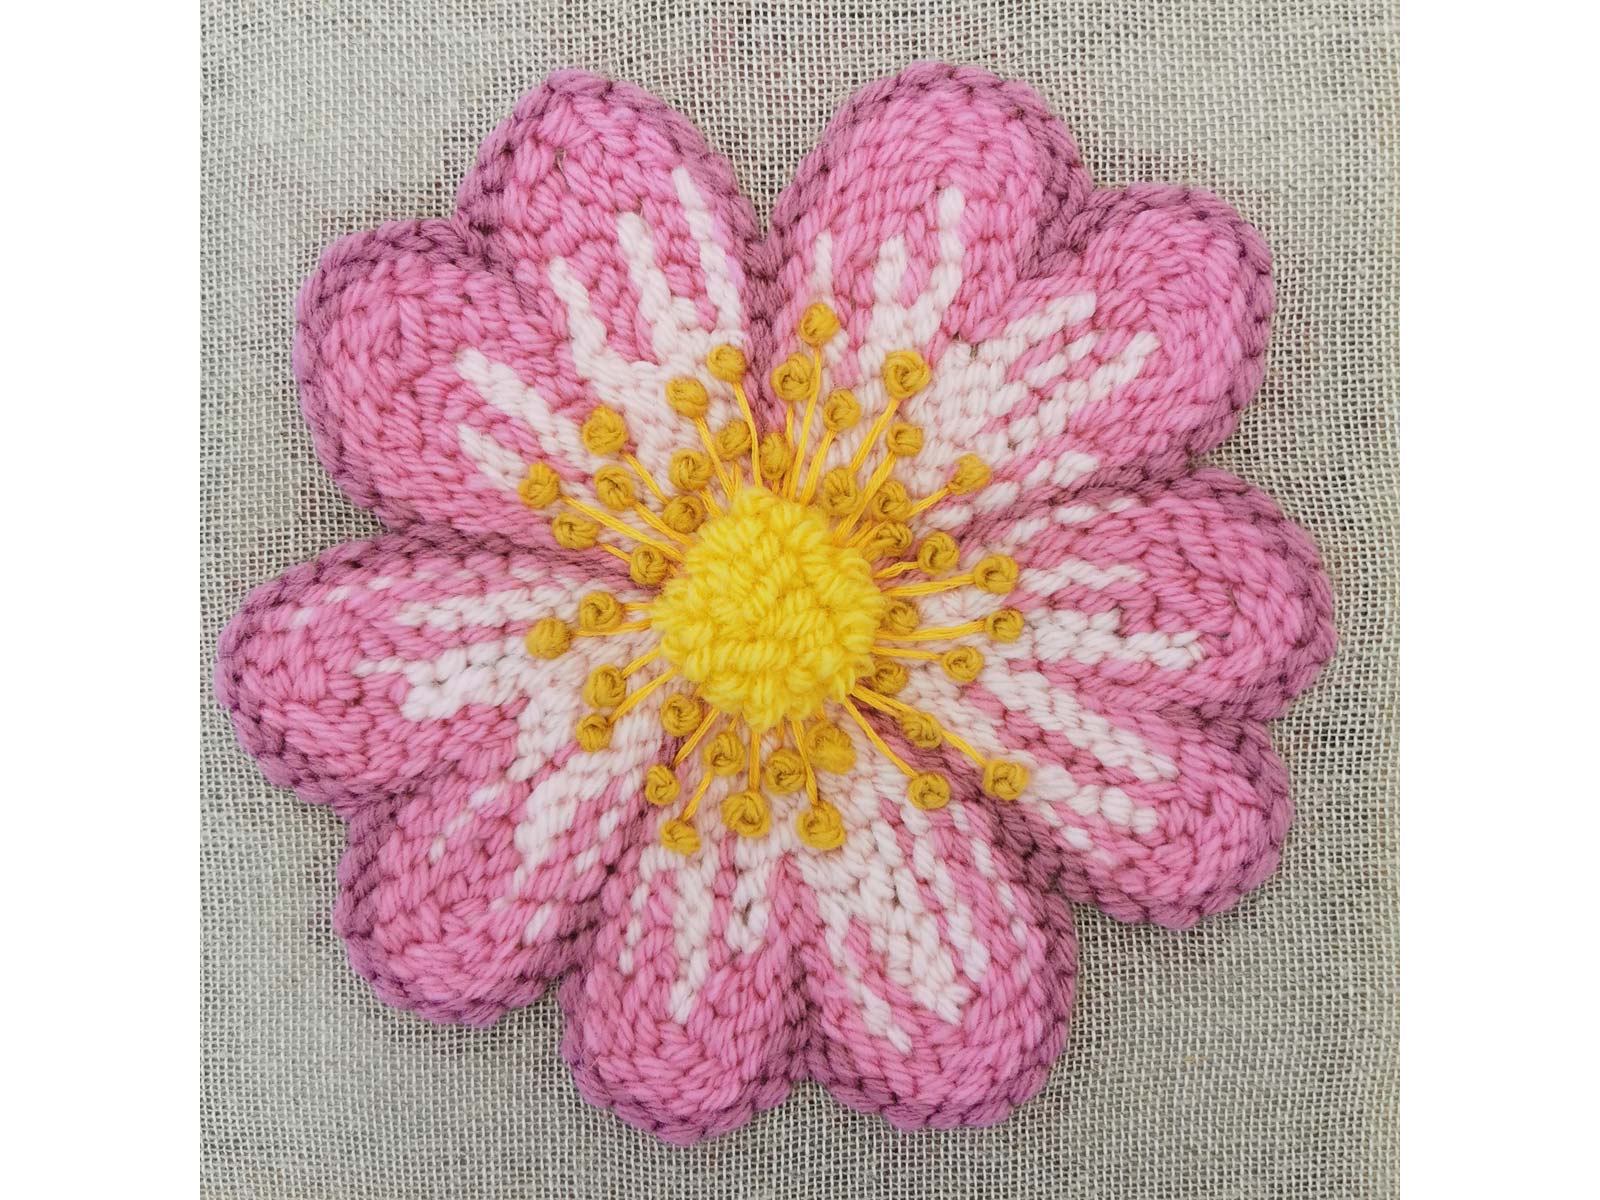
Insert the threader into the needle from the bottom of the shaft and thread the yarn through the loop at the bottom. Pull the thread through to the tip of the needle. Then insert the wire threader into the eye at the tip of the needle and pull the yarn through a couple of inches. Make sure the yarn can pull through easily with no tension as this will pull the stitches out. If there is any tension you may be using a yarn that is too thick.
The Oxford punch needle does not need a threader as it has a slit up the back and the yarn can just be fed through the eye.
How to Punch Needle
If using an adjustable 5mm punch needle, set the needle on so that there is about 2.5 cm from the bottom of the eye to the top of the handle. For the Lavor adjustable punch needle, you will need to set it so you can see 4 empty slots coming out of the bottom of the handle. On the plastic adjustable punch needles, this is often called setting ‘C’ on the needle. Keep the point (beveled edge) of the needle pointing in the direction you are punching at all times. Before your first stick make sure there are at least 2 inches of yarn coming from the eye.
Keeping your needle close to the fabric (almost touching) as you move forwards (about ¼ of an inch each time) punch the needle straight down into the fabric as far as it will go. Then lift the needle and move it forwards to punch the next stitch.
Repeat this, making sure that you never lift your needle too far from the fabric and that you keep the stitches a consistent length.
With any pattern, always start by working on the smallest, innermost sections first and gradually move on to larger sections until working on the background.
Ending a section of work
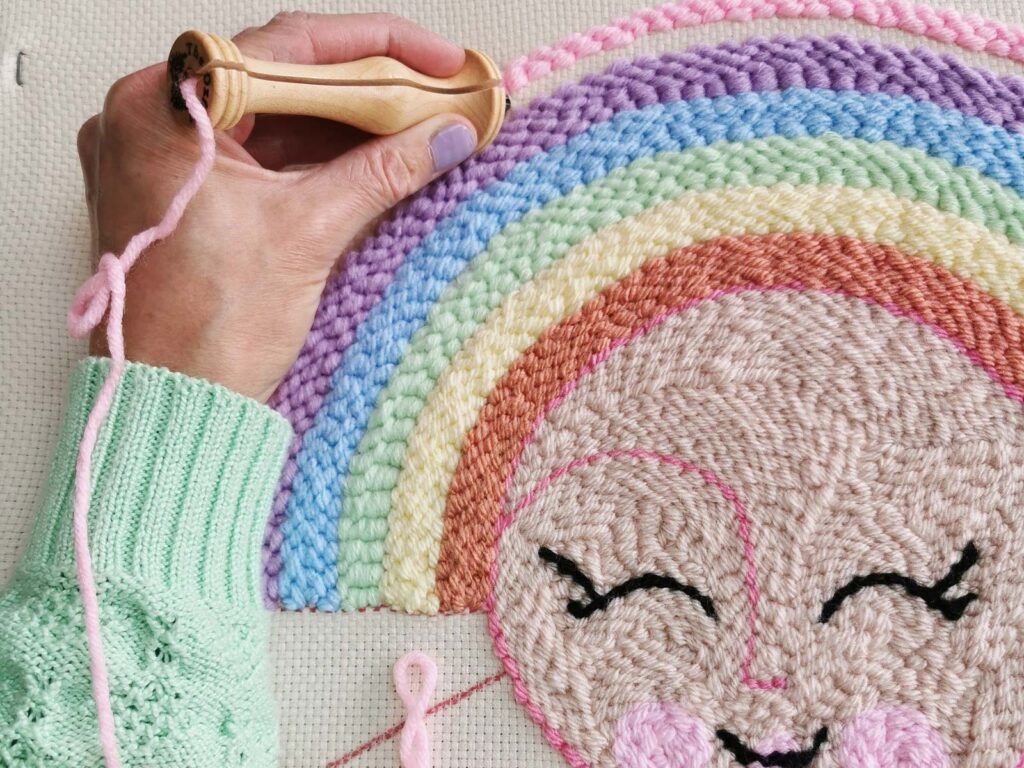
When you finish an area or want to change the colour of your yarn, place your finger over the last stitch with your finger to hold it down, then pull the needle a few inches away from the work. Trim the thread or yarn about 1 inch away from the fabric. If the ‘right’ side of my work is the flat side that you are working on, I usually poke this short end of yarn back through the work to the looped side with the end of a sharp pair of scissors.
Troubleshooting the most common issues
Q. Why are my stitches coming out as I punch?
This is the most common question asked and I think all of us go through this when we first start! You must make sure there is no tension at all with the yarn, so if using a ball of wool, unravel enough so the weight of the ball isn’t stopping the yarn from moving freely through the needle. Sometimes some fluff from the yarn can get stuck in the needle so it is worth having a narrow bottle cleaner you can push through to clear it.
Q. I’ve pulled my stitches out but there are holes everywhere now and the stitches aren’t staying put?
When you unravel a section of your work whether you have made a mistake or wanted to change colour etc, the stitches will have left holes. You can move the threads back into place by “scraping” your needle or nail over the fabric. Once the threads are better positioned, re-thread your punch needle and start again.
Q. How do I finish my work? What do I do with all the yarn ends?
If you want to keep the flat side of the work as the front of your piece, you will need to push all the yarn ends through to the back where the looped side is. Do this by using the point of your punch needle or the point of your scissors and with your fingers, gently pull the thread end to the back. If you want to use the pooled side as the front of your piece, you may want to tidy it up by trimming any big loops or push anything back into place. Sometimes you may want both sides to be used (for rugs etc) in which case, push the yarn ends to the looped side of the piece and then trim them down to the size of the loops.
Q. How do I stop my stitches from unraveling?
When you punch a piece, with each row you make you are ‘packing’ the stitches in together. As long as you punch your stitches to a consistent length, you should have no issues as this will keep everything tight. If there are any loose ends or long loops that could get caught and snag give them a trim and it should all be fine!